How To
I'm not going to go into a whole lot of detail here on how to produce videos because it's pretty much a trial and error experience. You obviously first need to have a camcorder but then you have to decide if you want to use a lipstick style camera that you mount external of the camcorder, or if you want to attach the entire camcorder to your helmet and use it to record to.
The advantages of using the camcorder directly on the helmet are that the camcorder has better optics than a lipstick style camera and you can take advantage of the built in image stabilization of the camcorder. When using the lipstick camera, you cannot take advantage of the image stabilization. Of course, have good technique and smooth form while riding helps regardless, but image stabilization works!
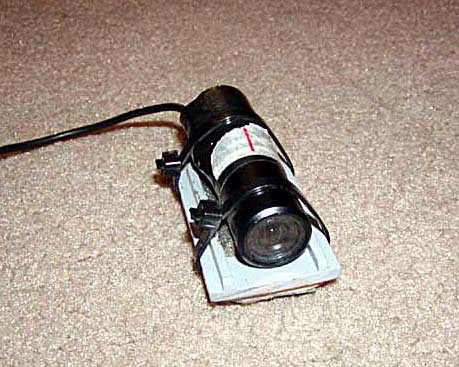
I use a lipstick camera that I purchased from RF Concepts in Ireland. There are other places that sell them but at the time, I felt like this was the best value camera I could get. Overall, I'm pleased with the results.
The one thing I don't have with my camera that they now include is a sun shade. I'm thinking about making my own sometime but I just haven't gotten around to it yet. I think it may help some on really hot days by allowing the camera to be recessed below the shield just enough to reduce some of the glare that I get.
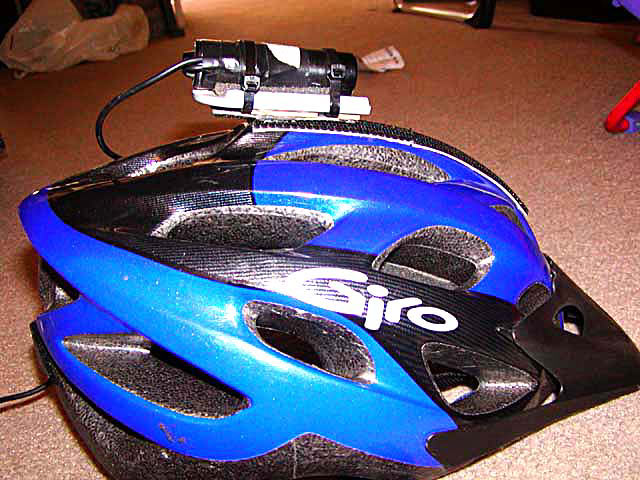
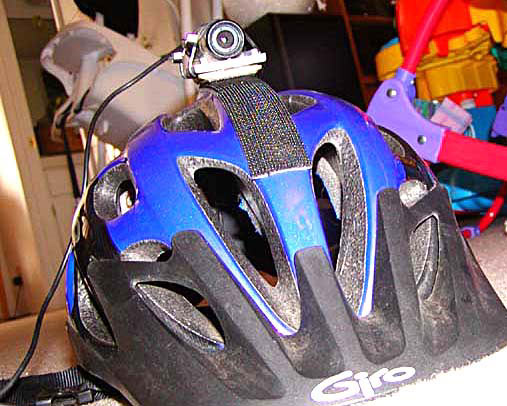
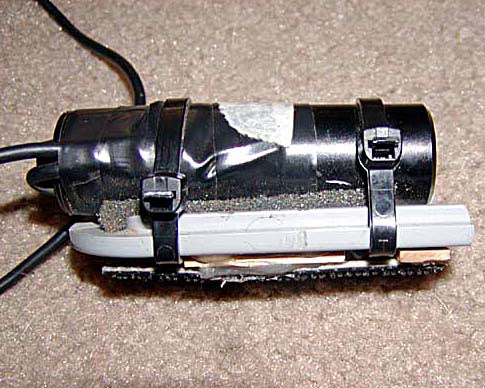
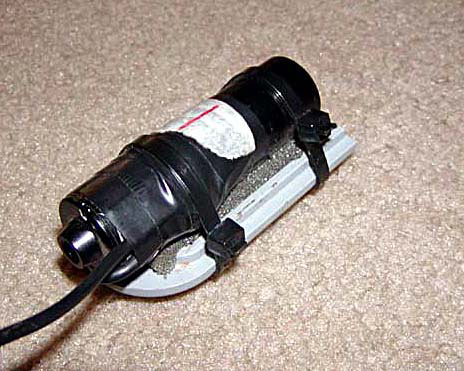
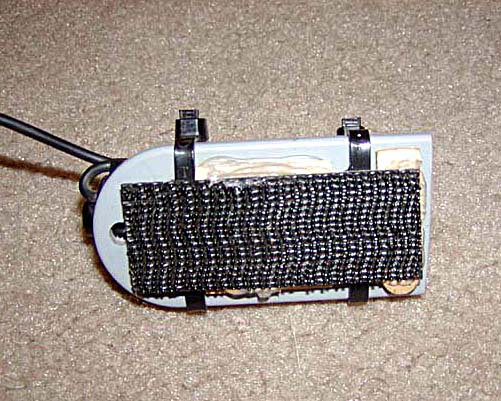
I went to the home store and found a flat piece of plastic that I used to fashion the mount for the camera. The hardest part was just making sure that the camera is perfectly straight or else your videos will look like you're constantly turning left or right! With the plastic, I just used a few zip ties to secure it. I then put some Velcro like material (I didn't use hook and loop, but the plastic kind that has mushroom heads) on the camera mount and on my helmet to secure the camera.
The most difficult part now is simply finding the correct position on the helmet to mount the camera so that you don't shoot either too much directly in front of you or too much horizon. It's a bit of trial and error for this so my recommendation is just experiment on day to find the ideal orientation. I put a piece of tape on my helmet, marked the tape, and just recorded in a particular orientation for a minute or so and then just moved the camera and made a new mark. I just reviewed the tape later to see what the optimum orientation was.
You can also turn the camera around to get a behind the rider perspective or even point it directly in front of you to capture a few different angles. Each of these provides some interesting perspectives, but sometimes you don't think about it until after you've already ridden a section of trail. Plus, you don't want to overdo it with a rear facing camera so that you don't have enough forward facing footage for your video.
I'm going to experiment around a bit sometime soon with mounting the camera directly to the frame but I suspect that with my Hardtail I'll get very bumpy footage. Still, it might be nice once in a while to see a different perspective.
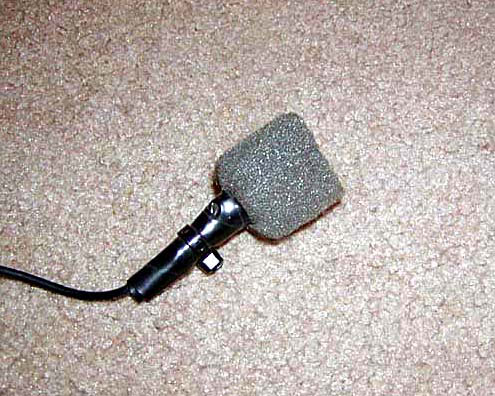
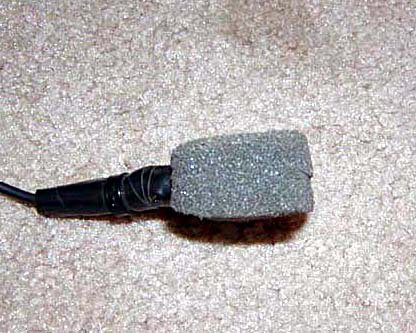
I like the sound of the trail in my videos but when I first got my system the only audio I ever recorded was wind noise. I decided to fashion a baffle of sorts for the microphone to protect if from the wind while still recording the sound of the tires and drive train. I just used some small pieces of foam to encapsulate the microphone and the results are very good. I just put the microphone on the outside of my pack so that it picks up the sounds.